How to add a contact form to GitHub Pages
GitHub Pages only serves static files, so forms need somewhere to post. Add a working contact form to a GitHub Pages or Jekyll site in a few minutes, with spam protection and a custom thank-you page.

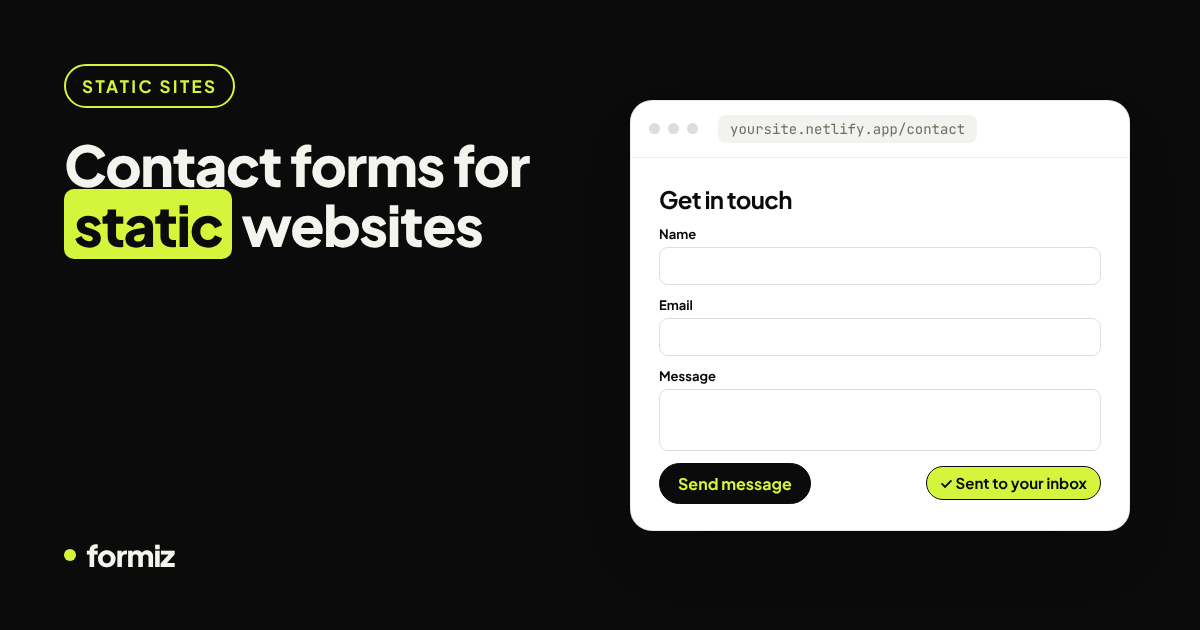
GitHub Pages is a wonderful free host for portfolios, documentation and project sites. It also serves only static files: no PHP, no server-side code, no way to process a form on its own.
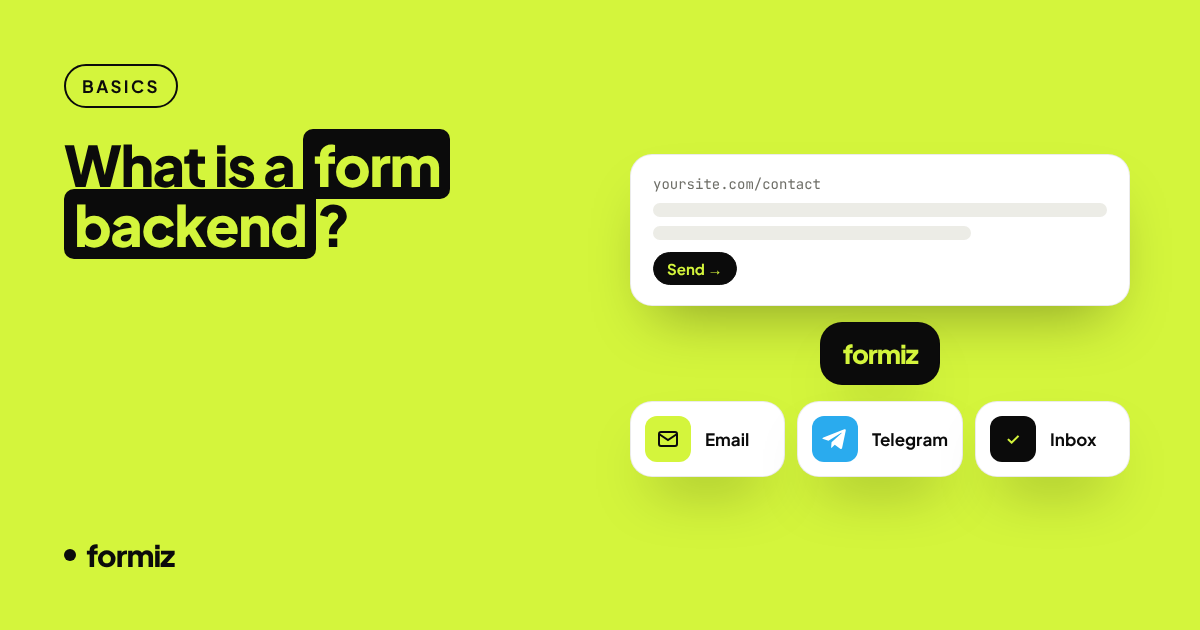
The fix takes a few minutes. Your form posts to a form backend, which emails you each submission. Nothing changes about how you build or deploy the site.
1. Get an access key
Create a free Formiz account. On the dashboard:
- Copy your access key from the overview page.
- Add your email under Channels → Email and confirm it.
- Under Settings → Allowed domains, add
yourname.github.io(or your custom domain).
2. Add the form
Create contact.html (or add to an existing page, Markdown file or Jekyll include):
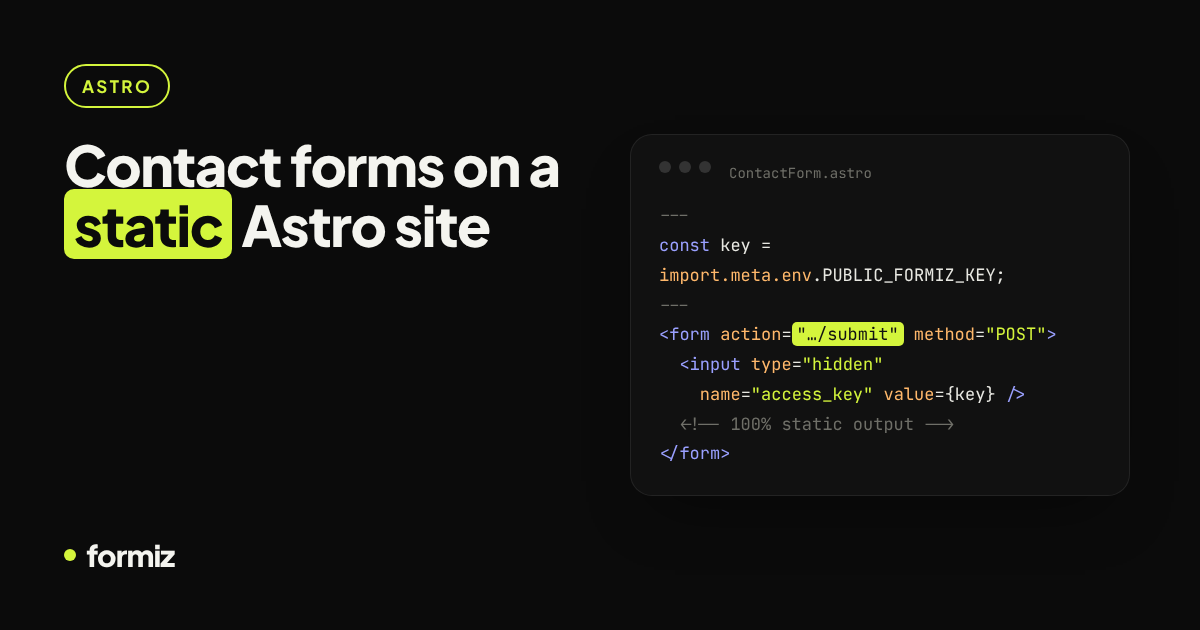
<form action="https://api.formiz.app/submit" method="POST" class="contact-form">
  <input type="hidden" name="access_key" value="YOUR_ACCESS_KEY">
  <input type="hidden" name="subject" value="New message from my GitHub Pages site">
  <input type="hidden" name="redirect" value="https://yourname.github.io/thanks/">
  <input type="checkbox" name="_honey" style="display:none" tabindex="-1" autocomplete="off">

  <label for="name">Name</label>
  <input id="name" name="name" required>

  <label for="email">Email</label>
  <input id="email" name="email" type="email" required>

  <label for="message">Message</label>
  <textarea id="message" name="message" rows="6" required></textarea>

  <button type="submit">Send</button>
</form>
Then create the thank-you page at thanks/index.html (or thanks.md with front matter in Jekyll).
3. Using it in Jekyll
Jekyll processes Markdown, but raw HTML inside a Markdown file is passed through untouched, so you can paste the form directly into contact.md. For reuse across pages, save it as _includes/contact-form.html and add:
{% include contact-form.html %}If you prefer not to hard-code the key, put it in _config.yml as formiz_key: fmz_... and use value="{{ site.formiz_key }}" in the include. It still ends up in the public HTML, which is fine: the key can only send submissions to you, and the allowed-domains setting stops it working anywhere else.
4. Commit, push and test
Push to your Pages branch, wait for the build, and submit the form. You are redirected to your thank-you page and the email arrives within seconds. The visitor's address is the reply-to, so you can answer straight from your inbox.
Making it feel nicer
- Inline success message: submit with
fetchto stay on the page; the endpoint returns JSON. The static site guide has the snippet. - Phone notifications: connect Telegram so a new message never waits in your inbox.
- More fields: any input with a
nameis delivered, so addcompany,websiteor a<select name="topic">freely.
Troubleshooting
"This domain is not allowed for this access key." Check that the domain in Allowed domains matches the address bar exactly (custom domain vs github.io), or temporarily remove the restriction while testing.
Nothing arrives. Make sure you confirmed your email address from the verification message, and check that the submission appears in your Formiz dashboard. If it does, look in your spam folder once and mark the notification as Not spam; connecting Telegram as a second channel is a good safety net.
Get your form working in five minutes
Create a free Formiz key, add it to your form and receive submissions by email and Telegram. No server, no SMTP, no card.