How to add a contact form to a static website (no backend needed)
Static sites on Netlify, Vercel, Cloudflare Pages or GitHub Pages cannot send email by themselves. Here is the simplest way to add a working contact form with plain HTML in under five minutes.
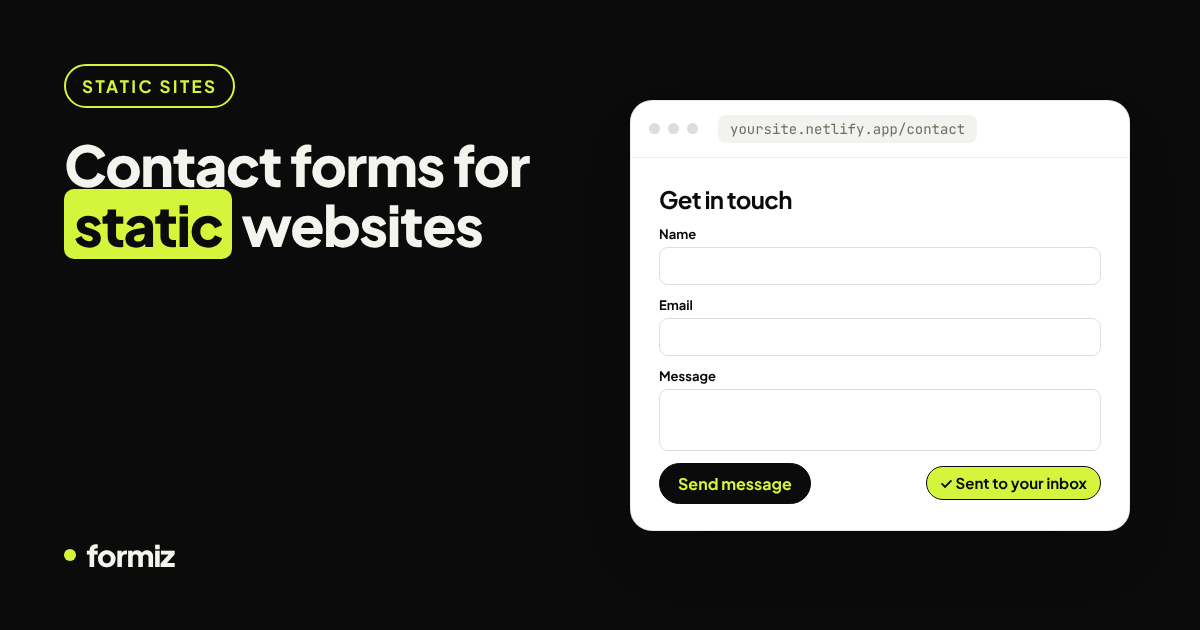
Static websites are fast, cheap and secure, right up until you need a contact form. There is no PHP, no mail server and no place to run code when someone presses Send.
This guide shows the simplest fix: a plain HTML form that posts to a form backend, which emails you every submission. No JavaScript, no build step, no server.
Why static sites cannot send email
A static host only serves files. When a form posts to it, there is nothing on the other end to read the data. Some hosts offer their own form features, but those tie your form to that host. Move from Netlify to Cloudflare Pages and you rewrite it.
A form backend is host-independent: it is just a URL. The same form works on any static host, today and after you migrate.
Step 1: Get an access key
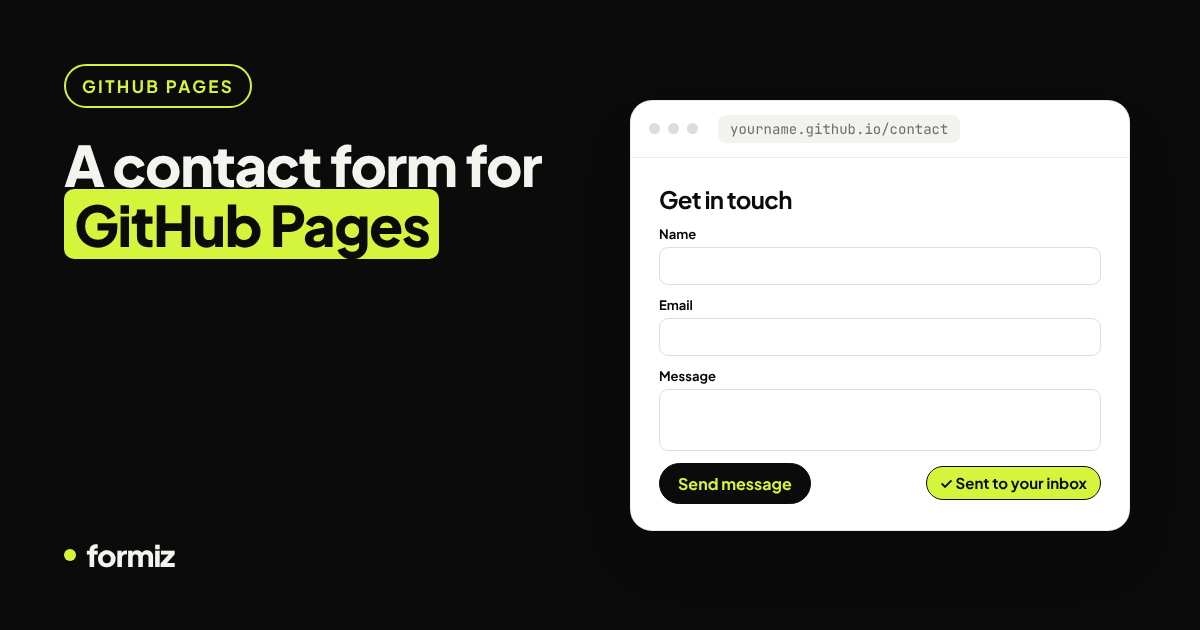
Create a free Formiz account. Your access key (it starts with fmz_) is on the dashboard's overview page. Under Channels → Email, add the address that should receive messages and confirm it from your inbox.
Step 2: Add the form
Paste this wherever the form should appear and replace YOUR_ACCESS_KEY:
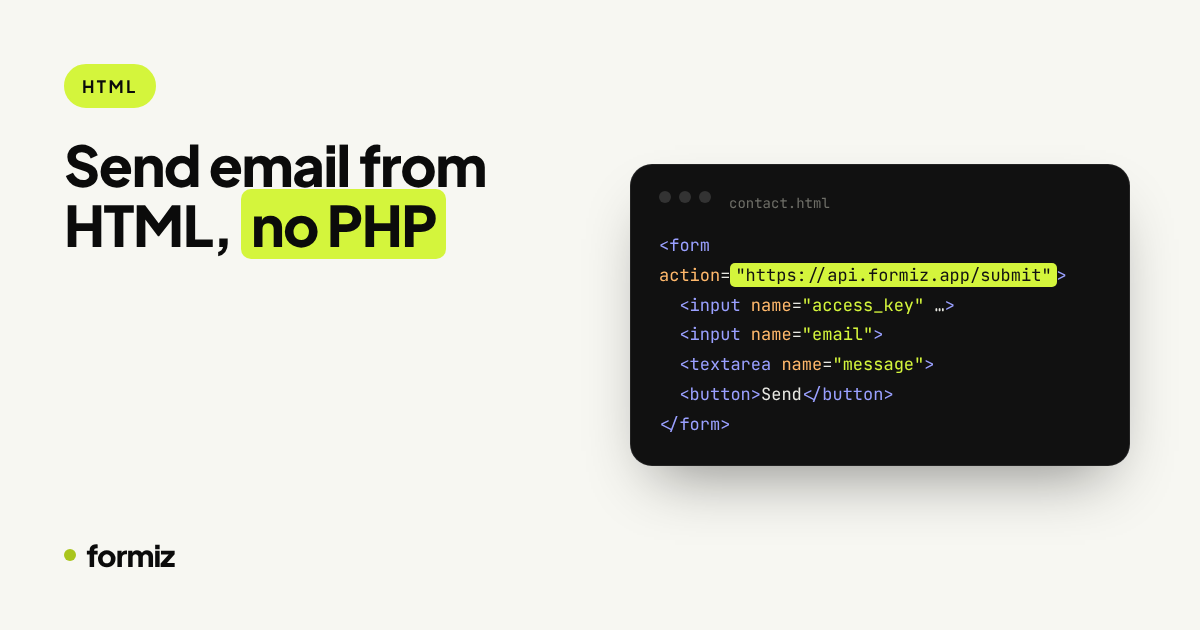
<form action="https://api.formiz.app/submit" method="POST">
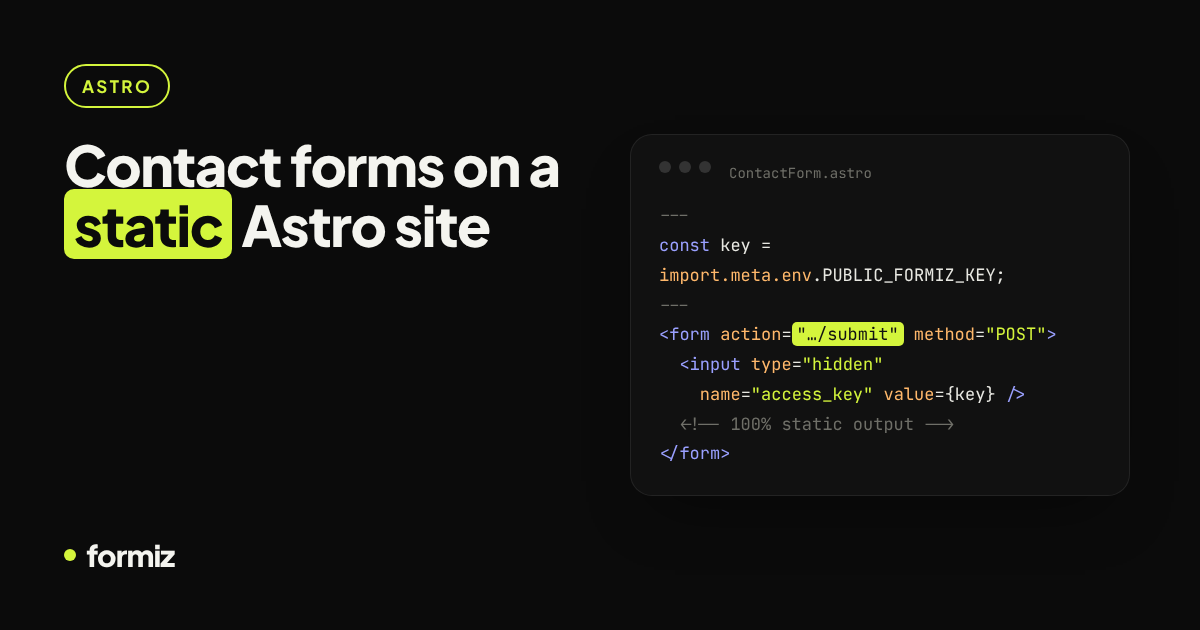
  <input type="hidden" name="access_key" value="YOUR_ACCESS_KEY">
  <input type="hidden" name="subject" value="New message from my website">
  <input type="checkbox" name="_honey" style="display:none" tabindex="-1" autocomplete="off">

  <label for="name">Name</label>
  <input id="name" name="name" autocomplete="name" required>

  <label for="email">Email</label>
  <input id="email" name="email" type="email" autocomplete="email" required>

  <label for="message">Message</label>
  <textarea id="message" name="message" rows="5" required></textarea>

  <button type="submit">Send message</button>
</form>
What each special field does:
access_keyconnects the form to your account. Required.subjectsets the subject line of the notification email._honeyis a hidden honeypot. Humans never tick it; bots that do are silently discarded.
Every other field with a name is delivered as it is. Add phone, company or budget and they show up in the email.
Step 3: Send a test
Publish the page and submit the form. You land on a hosted thank-you page with a link back to your site, and the message arrives in your inbox within seconds. Because the form has an email field, the notification's reply-to is the visitor: press Reply and you are writing to them.
Optional: your own thank-you page
Add a hidden redirect field with a full URL:
<input type="hidden" name="redirect" value="https://example.com/thanks">More options are in thank-you pages and redirects after form submission.
Optional: stay on the page with JavaScript
If you prefer an inline success message, intercept the submit and send it with fetch. Requests from fetch receive JSON instead of a redirect:
<script>
  const form = document.querySelector('form');
  form.addEventListener('submit', async (e) => {
    e.preventDefault();
    const res = await fetch(form.action, { method: 'POST', body: new FormData(form) });
    const data = await res.json();
    form.outerHTML = data.success
      ? '<p>Thanks! Your message has been sent.</p>'
      : '<p>Something went wrong. Please try again.</p>';
  });
</script>
Lock the key to your domain
Your access key is visible in the page source. That is expected: it can only send submissions to you. To stop anyone reusing it elsewhere, open Settings → Allowed domains and add your domain. Requests from any other origin are rejected.
Get messages on your phone, too
Email is easy to miss. Under Channels → Telegram, connect @formizbot and every submission also arrives as a push notification. Details in how to get form submissions on Telegram.
Hosting-specific notes
- GitHub Pages: works as-is. See the GitHub Pages guide.
- Netlify: do not add
data-netlify="true", or Netlify will intercept the form. - Vercel and Cloudflare Pages: nothing special; the form posts straight to Formiz.
That's it: a working contact form on a static site, with spam protection and instant notifications, without touching a server.
Get your form working in five minutes
Create a free Formiz key, add it to your form and receive submissions by email and Telegram. No server, no SMTP, no card.