Webflow forms: send submissions to email and Telegram with a custom action
Keep your Webflow form design and route submissions to your inbox and Telegram, past the built-in submission caps. Step-by-step setup with a custom form action and one hidden field.
Webflow's native forms are convenient, but they come with limits: submission caps on lower plans, notifications that only go to email, and no easy way to share leads with a team on their phones.
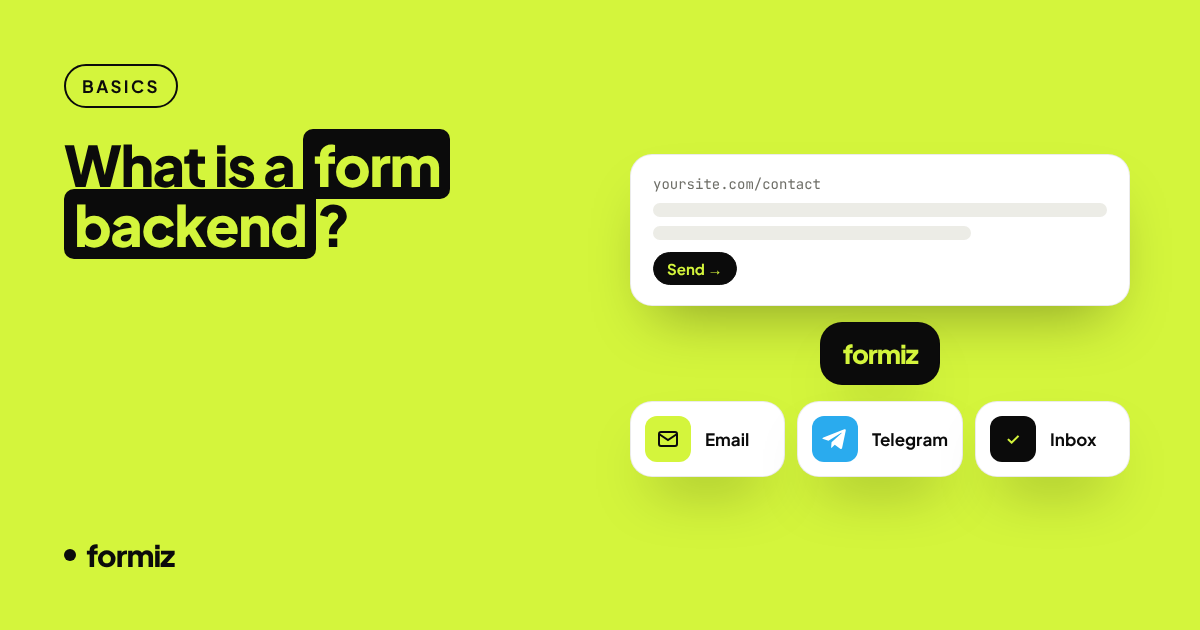
The good news is that a Webflow Form Block can post to any URL you choose. Point it at a form backend and you keep your exact design while getting more control over where submissions go.
What changes (and what does not)
- Stays the same: your form's design, fields, layout and interactions in the Designer.
- Changes: submissions go to Formiz instead of Webflow's form inbox. Webflow cannot run its own notifications and a custom action on the same form, so pick one per form.
1. Get your access key
Sign up for Formiz, copy the access key from your dashboard, then:
- Add your email under Channels → Email.
- Optionally connect Telegram for instant push notifications.
- Add your
webflow.iostaging domain and your custom domain under Settings → Allowed domains.
2. Set the form action
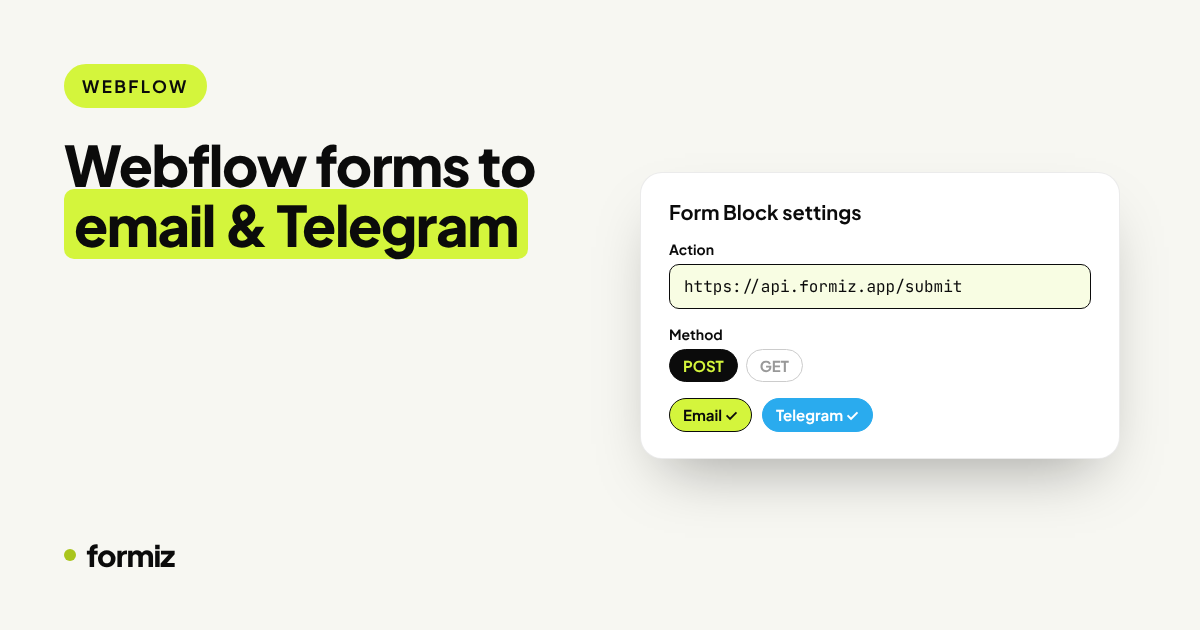
- In the Designer, select the Form Block (the outer form element, not a field).
- Open the Settings panel.
- Set Action to
https://api.formiz.app/submit. - Set Method to
POST.
3. Add the access key as a hidden field
Drag a Code Embed element inside the form block (anywhere between the fields and the button) and paste:
<input type="hidden" name="access_key" value="YOUR_ACCESS_KEY">
<input type="hidden" name="subject" value="New Webflow form submission">
<input type="checkbox" name="_honey" style="display:none" tabindex="-1" autocomplete="off">4. Check your field names
Formiz labels each value with the field's Name setting. Webflow often generates names like Field or Name 2. Select each input and give it a clear name such as name, email, phone or message.
Naming the email input email has a bonus: it becomes the reply-to address of the notification, so pressing Reply writes straight to the visitor.
5. Choose what visitors see after submitting
By default, visitors land on a hosted thank-you page with a link back to your site. To keep them on your Webflow site, create a thank-you page (for example /thank-you) and add one more line to the Code Embed:
<input type="hidden" name="redirect" value="https://yourdomain.com/thank-you">Webflow's own success message state is not used with a custom action; the redirect replaces it. See thank-you pages and redirects for more options.
6. Publish and test
Publish to your staging domain, submit the form and confirm that the email (and Telegram message, if connected) arrives. Then publish to your custom domain.
Why route Webflow forms this way?
- Instant phone notifications: Telegram alerts for every submission, in a private chat or a team group.
- Lead tracking: every submission lands in an inbox where you can move it from New to Won, add notes and assign teammates.
- Spam filtering: honeypot, rate limits and allowed domains, with no CAPTCHA required.
- Agencies: one Formiz project per client site keeps leads, channels and access separate.
Troubleshooting
The form still shows Webflow's success message. The action is not set on the Form Block itself. Select the outer form element and check Settings again.
"access_key is missing." The Code Embed is outside the form. Move it inside the Form Block.
"This domain is not allowed." Add both your webflow.io and custom domain to Allowed domains.
Get your form working in five minutes
Create a free Formiz key, add it to your form and receive submissions by email and Telegram. No server, no SMTP, no card.