Next.js contact form: API route, server action or form backend?
Three ways to build a contact form in the Next.js App Router, with their trade-offs, plus a complete copy-paste client component that emails you every submission without an API route.
Next.js gives you several places to handle a form: an API route, a server action, or an external endpoint. All three work. They differ in how much you have to build and maintain around them.
This guide compares the options and then builds the simplest one end to end with the App Router.
Option 1: Route handler + email API
Create app/api/contact/route.js, validate the body and call an email provider such as Resend, Postmark or SendGrid.
Good for: apps that already have a backend, or when the message must be written to your own database in the same request.
What you take on: a verified sending domain (SPF, DKIM, DMARC), spam filtering, rate limiting, storing submissions so nothing is lost if an email bounces, and keeping provider keys secret in every environment.
Option 2: Server action
Server actions remove the API route boilerplate: the form calls a function that runs on the server. The responsibilities are the same as option 1, though. You still need an email provider, spam protection and storage. Server actions are a nicer syntax, not a different architecture.
Option 3: Form backend
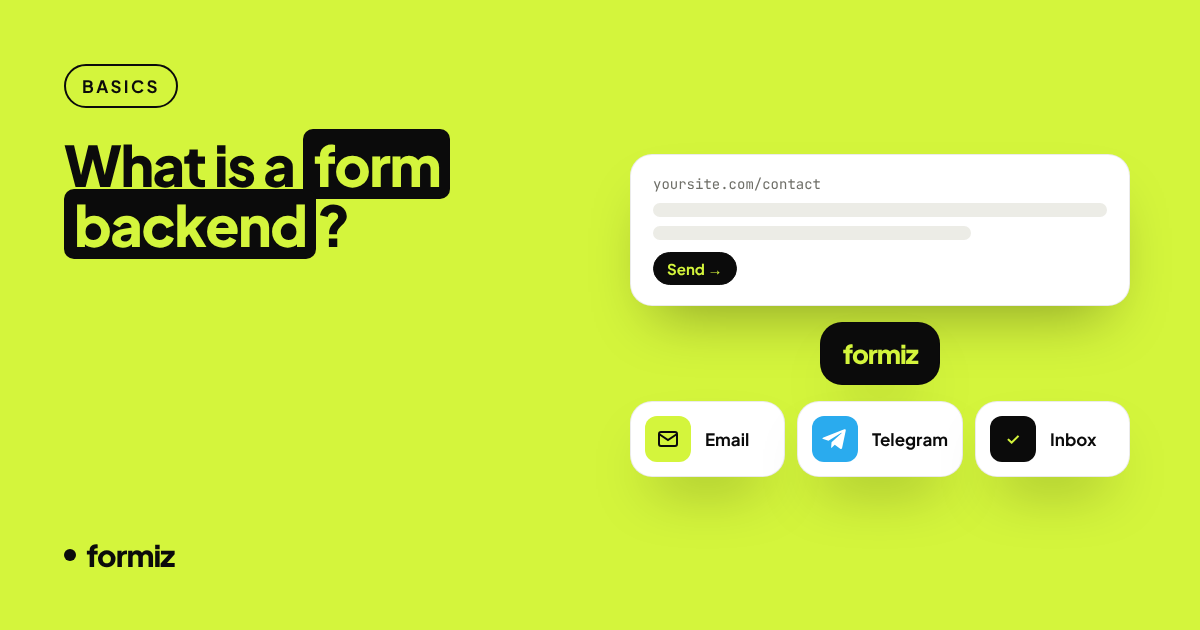
Post the form straight from the browser to a hosted endpoint. Delivery, spam filtering and storage are handled for you, and the component is the only code you own.
Good for: marketing sites, portfolios, landing pages, client projects and anything deployed as static or mostly-static pages.
| Route handler | Server action | Form backend | |
|---|---|---|---|
| Server code to write | Yes | Yes | No |
| Email provider and DNS setup | Yes | Yes | No |
| Spam protection | Build it | Build it | Included |
| Submissions stored | Build it | Build it | Included |
Works with output: 'export' | No | No | Yes |
Building it with a form backend
1. Add your key
Create a free Formiz account, copy the access key and put it in .env.local:
NEXT_PUBLIC_FORMIZ_KEY=fmz_your_key_hereThe NEXT_PUBLIC_ prefix exposes it to the browser. That is fine: the key can only send submissions to your own channels. Restrict it to your domain under Settings → Allowed domains so it only works on your site.
2. Create the client component
// app/contact/ContactForm.jsx
'use client';

import { useState } from 'react';

export default function ContactForm() {
  const [status, setStatus] = useState('idle'); // idle | sending | sent | error
  const [error, setError] = useState('');

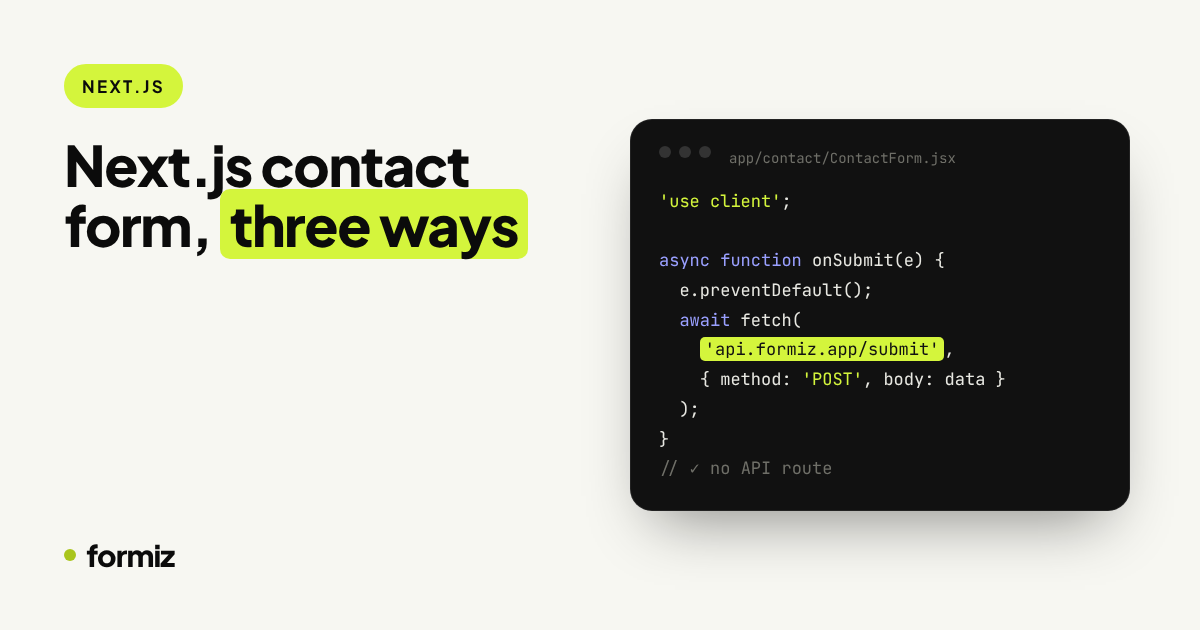
  async function onSubmit(e) {
    e.preventDefault();
    const form = e.currentTarget;
    setStatus('sending');
    setError('');
    try {
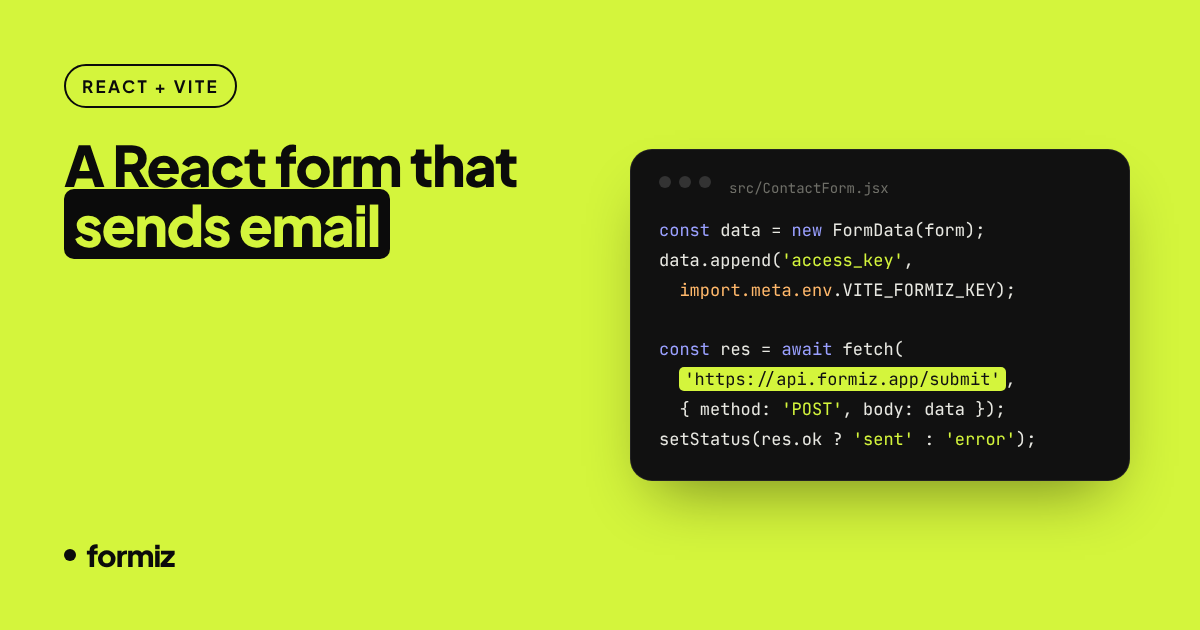
      const data = new FormData(form);
      data.append('access_key', process.env.NEXT_PUBLIC_FORMIZ_KEY);
      const res = await fetch('https://api.formiz.app/submit', { method: 'POST', body: data });
      const json = await res.json();
      if (!res.ok || !json.success) throw new Error(json.message || 'Something went wrong');
      form.reset();
      setStatus('sent');
    } catch (err) {
      setError(err.message);
      setStatus('error');
    }
  }

  return (
    <form onSubmit={onSubmit}>
      <input type="hidden" name="subject" value="New message from my site" />
      <input type="checkbox" name="_honey" style={{ display: 'none' }} tabIndex={-1} autoComplete="off" />

      <input name="name" placeholder="Your name" required />
      <input name="email" type="email" placeholder="you@example.com" required />
      <textarea name="message" rows={5} placeholder="How can we help?" required />

      <button type="submit" disabled={status === 'sending'}>
        {status === 'sending' ? 'Sending…' : 'Send message'}
      </button>

      {status === 'sent' && <p role="status">Thanks! Your message has been sent.</p>}
      {status === 'error' && <p role="alert">{error}</p>}
    </form>
  );
}
3. Use it on a page
// app/contact/page.jsx
import ContactForm from './ContactForm';

export const metadata = { title: 'Contact us' };

export default function ContactPage() {
  return (
    <main>
      <h1>Contact us</h1>
      <ContactForm />
    </main>
  );
}
The page itself stays a server component, so it is still statically rendered. Only the form ships JavaScript.
Details worth knowing
- JSON vs redirect. Requests from
fetchget a JSON response ({ "success": true }), so you control the success state. A plain<form action>without JavaScript is redirected to a thank-you page instead. - Reply-to. A field named
emailbecomes the reply-to address of the notification. Press Reply and you are writing to the visitor. - Any extra field is delivered. Add
phone,companyor a<select name="budget">and it appears in the notification. - Rate limits. Repeated submissions from the same visitor within a minute are blocked, which stops most scripted abuse.
A runnable example
The complete project, with styling and an .env.example, is on GitHub: loc0w/formiz-nextjs-contact-form.
Which should you pick?
If you already run a backend and want submissions inside your own database, a route handler or server action fits naturally. For everything else, a form backend gets you a production-ready form in minutes and keeps your Next.js project free of email plumbing.
Next: get every submission as a push notification with Telegram, or harden the form with spam protection that does not need a CAPTCHA.
Get your form working in five minutes
Create a free Formiz key, add it to your form and receive submissions by email and Telegram. No server, no SMTP, no card.